Patching an Exchange server, whether it be Windows Update, a Cumulative Update or a Security Update always takes a long time. When looking at the task manager, it is always the Antimalware Service Executable (Windows Defender Antivirus Service) that is responsible for this. It just consumes a lot of processor cycles:

To overcome this and speed up the overall performance of patching the Exchange server you can temporarily disable Windows Defender.
For Exchange 2016 running on Windows 2016 follow these steps:
Start | Settings | Update and Security | Windows Defender
For Exchange 2019 running on Windows 2019 follow these steps:
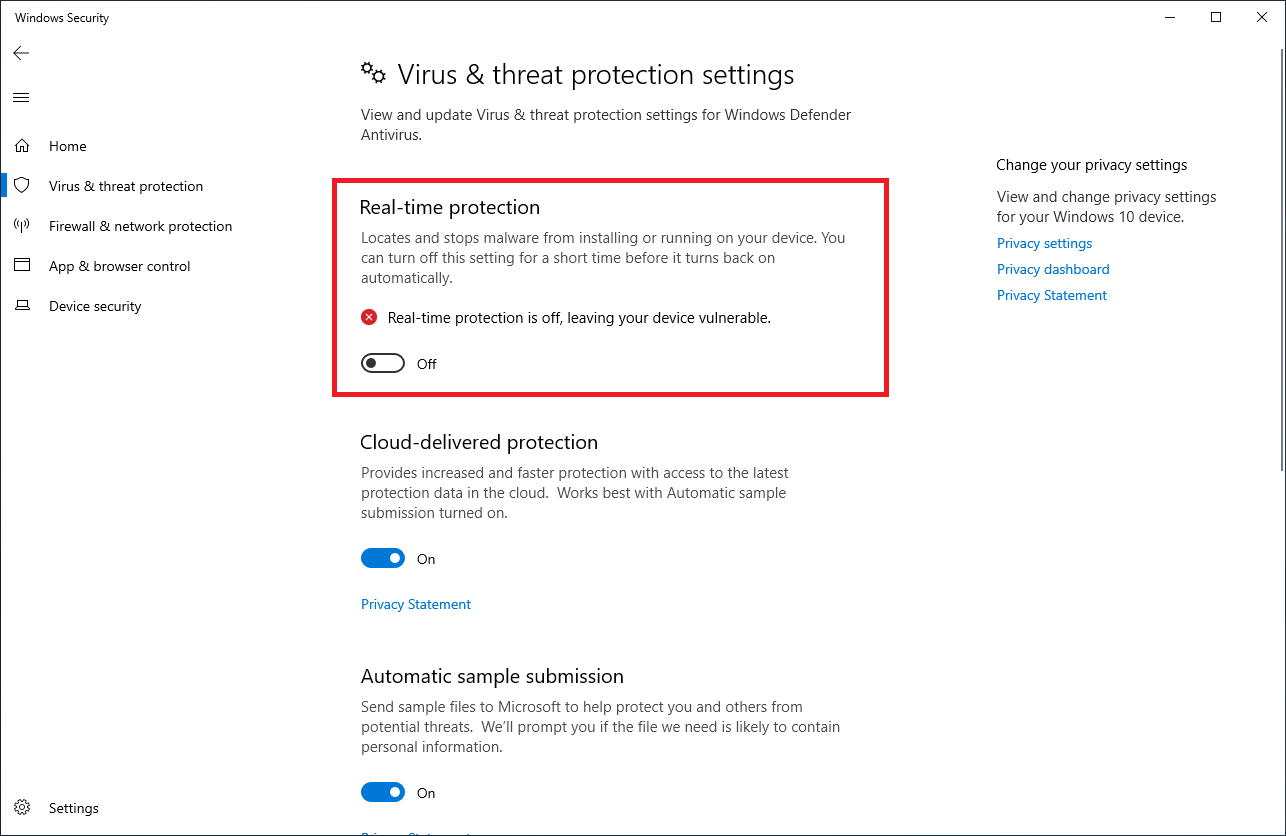
Start | Settings | Update and Security | Windows Security | Open Windows Security I Virus & Threat protection I Manage Settings
And switch Real-time protection to off as shown in the following screenshot:
Much easier is using PowerShell, just execute this command:
Set-MpPreference -DisableRealtimeMonitoring $TrueWhen patching the Exchange server you will notice how much faster it will be. When patched and rebooted, enable Windows Defender by executing the following PowerShell command:
Set-MpPreference -DisableRealtimeMonitoring $FalseYou can check the status of Windows defender using one of the following commands:
Get-MpPreference | select DisableRealtimeMonitoring
Get-MpComputerStatus
Check the output for RealTimeProtectionEnabled, this should be set to True. As a sidenote, there is a lot of other interesting information when executing Get-MpComputerStatus for anti-malware.
